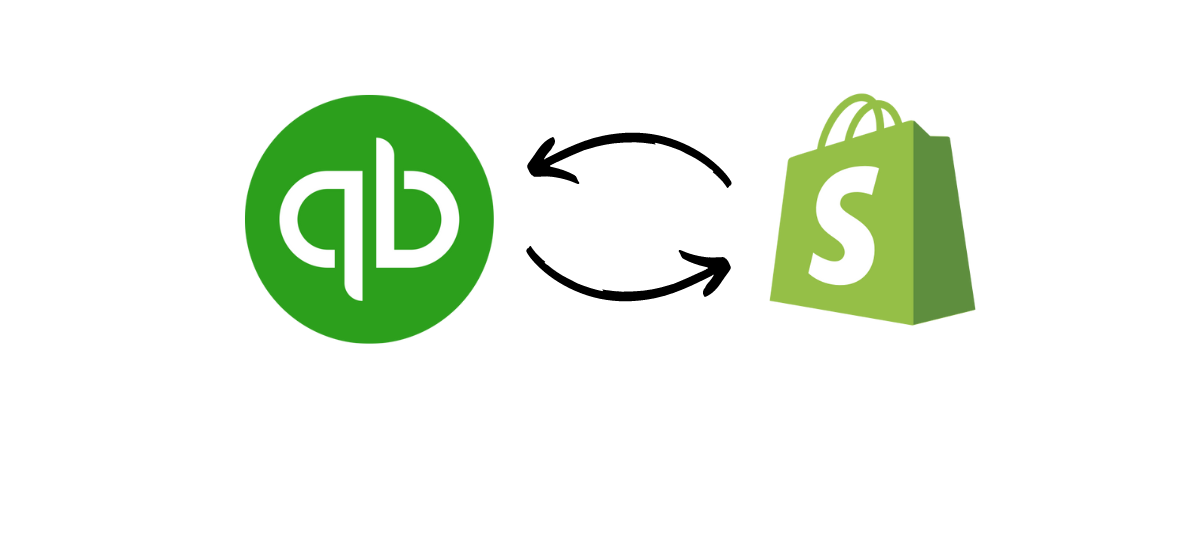
Integrating QuickBooks Desktop with Shopify offers businesses a powerful solution to streamline their operations and enhance their e-commerce management. This seamless integration enables businesses to synchronize crucial data between QuickBooks Desktop and Shopify, automating processes and reducing manual entry errors. With QuickBooks Desktop integration with Shopify, businesses can effortlessly manage their orders, track inventory levels, and generate accurate financial reports.
This integration simplifies reconciliation, ensures precise accounting, and provides a comprehensive view of the business’s financial health. By integrating QuickBooks Desktop with Shopify, businesses can save time, improve efficiency, and make informed decisions based on up-to-date and accurate e-commerce data.
To integrate you need to set up your tax preferences, generate an app token, map your account, and then start the integration and that’s what we’ve discussed below in the simple steps.
List of things to do prior to starting with the integration process
A. Update QuickBooks Desktop to the Latest Release
- Open QuickBooks Desktop
- Go to Help > Update QuickBooks Desktop
- Click Update Now and then click Get Updates
- Once the updates are successfully installed, click OK
- Now restart QuickBooks Desktop
B. Create QuickBooks Company Data Backup
- Open QuickBooks Desktop
- Go to File > Back Up Company > Create Local Backup
- Now follow the onscreen instructions to create a company file backup
Note: If you want our experts to do the integration process for you, please contact us.
Integrating QuickBooks Desktop With Shopify in 5 Simple Steps
Step 1: Setup Tax Preferences in QuickBooks Desktop
- Open QuickBooks Desktop
- Go to Edit > Preferences…
- On the left panel, select Sales Tax and choose Company Preferences
- Choose Yes in the Do you charge sales tax section
- Choose the type of Sales Tax item:
To Add a Sales tax item, do the following - Click Add sales tax item…
- Choose the type of Sales Tax
- Under Sales Tax Name, give a name to your sales tax item
- In the Description section, enter the “Sales Tax”
- In the Tax Rate(%) section, enter the “0%”
- Now Click OK
To Add the Most Common Sales Tax item - Choose the tax item from the drop-down menu, in the most common sales tax item section
- Click OK
Step 2: Generate an App Token in QuickBooks Desktop
After you set up tax preferences, you need to generate an app token in QuickBooks Desktop. Also, ensure that you’re logged in to your Intuit account as an admin with a single-user mode.
- In the QuickBooks Desktop go to File > App Management
- Then select Manage Web Apps
- In the search apps section, search and enter “Shopify connector”
- Under the Action column, click Set up
- Then click Generate Token
- Now you will be prompted to the ‘QuickBooks – Application Certificate’ window. You need to choose the option Yes, whenever this QuickBooks company file is open.
- Click Continue
- Now your token has been generated, click Copy to Clipboard
Step 3: Log in to your Shopify Account and Download QuickBooks Desktop Connector
- Log in to your Shopify Store
- After login to the Shopify admin panel, directly go here to download the QuickBooks Desktop connector from the Shopify app store.
- Now click Add app
- Then click Install app
Step 4: Create your Stocky API key
Stocky is a Shopify inventory management application. You need to download Stocky and add your Stocky API to start syncing your data.
To Download Stocky App
- Go to the Shopify Home section
- Click Settings on the left panel
- Go to Apps and sales channels
- Click Shopify App Store
- Type Stocky in the search field and click on the Stocky app
- Click Add App
- Now click Install app
- Once your account is synced, click OK
To Create Stocky API
- Click Settings on the left panel
- Go to Apps and sales channels
- Under installed apps, click Stocky
- Then click Open App
- Go to Preferences > API access
- Click Generate a new API key
- Now Copy the current API key
Step 5: Map and Integrate QuickBooks Desktop With Shopify
To start integrating QuickBooks Desktop with Shopify.
- Click on the Shopify home section
- Then click Apps on the left menu, and it automatically shows you the QuickBooks Desktop connector under the installed apps
- Click on QuickBooks Desktop Connector
- Now click Start Integration. Please Note: The sync process only supports the latest QuickBooks version 2021, 2022, and 2023.
- Click Continue with Integration
- The next window prompts you to follow the steps to generate the app token(that we’ve done in Step 2) skip the guide and scroll the window to the bottom and enter the app token you generated.
- Then click Next
- In the Account Mapping section, select your QuickBooks fields to match Shopify categories.
- Under the Sync mode section, select Summary or Detailed sync mode for customers, inventory, and vendors.
- In the Enter Stocky API key to start the sync section, enter the Stocky API key
- Then click Start Integration
In order to sync your data continuously, you need to keep QuickBooks Desktop Connected app installed in your Shopify store after the integration. The data sync runs every 5 minutes.
After following all the above steps, you can easily integrate QuickBooks Desktop with Shopify. In case, you get some errors or any kind of help. Please reach out to us or Dial Our TollFree.
Related Posts