When you try to export any reports to Excel you may encounter “Excel allows 256 columns in a Worksheet QuickBooks Error”
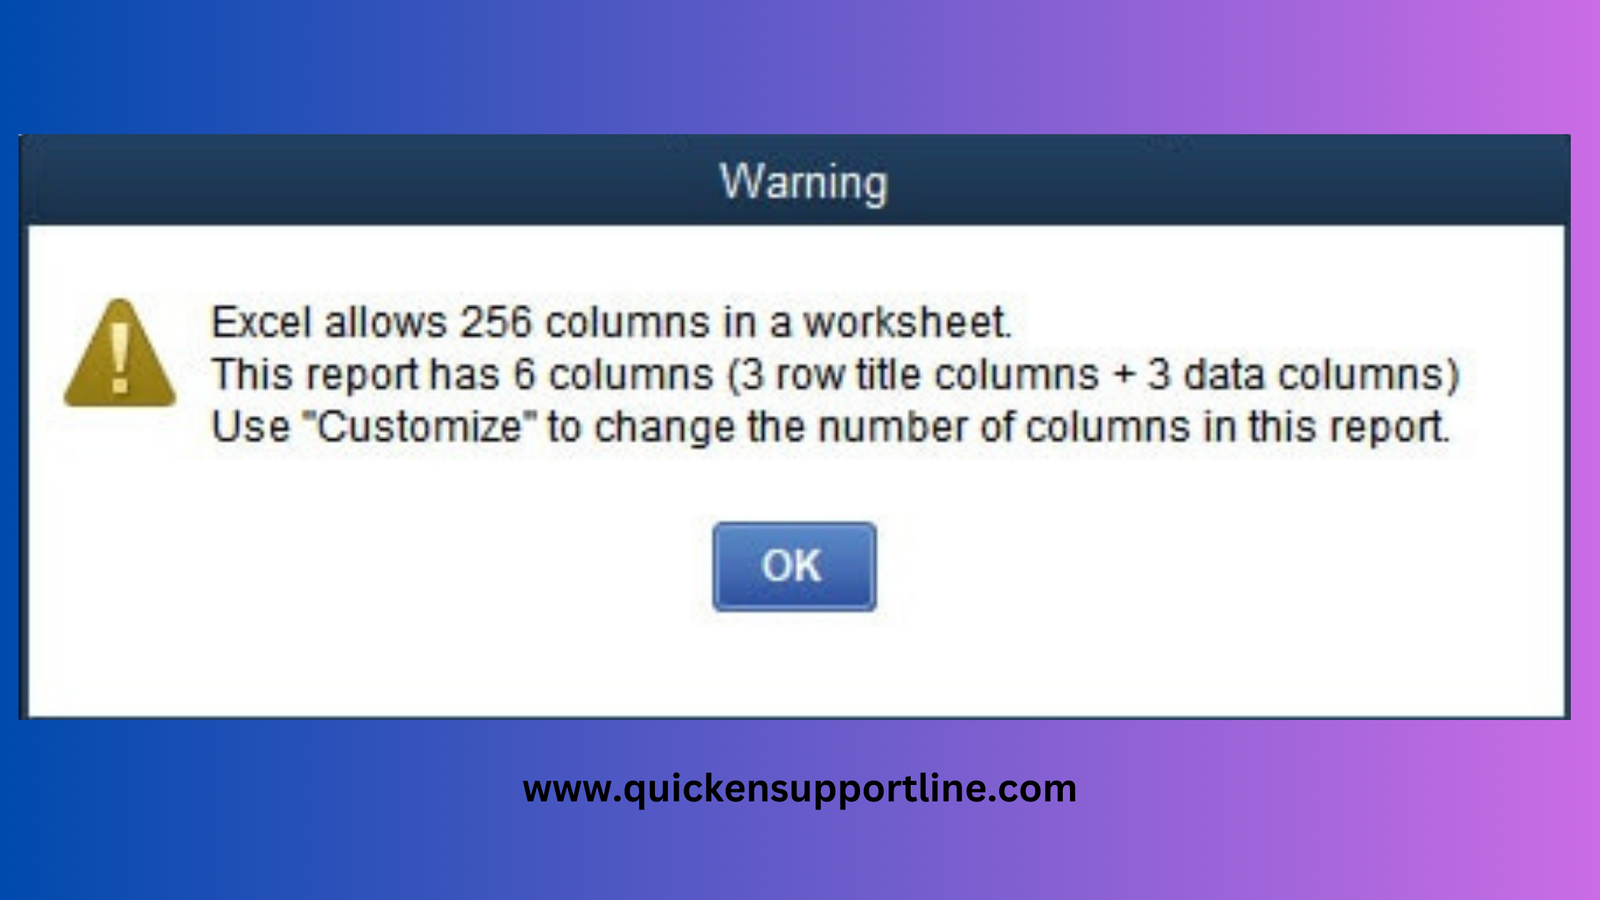
You get the following warning:
Excel allows 256 columns in a worksheet.
This report has 6 columns (3 row title columns + 3 data columns)
Use “Customize” to change the number of columns in this report.
Your QuickBooks may freeze when this warning comes up on your computer.
Below we discussed the complete process to fix this issue.
Causes of this warning
- MS Office and QuickBooks installations are damaged
- Reports have some problems
- MS Office and QuickBooks are not compatible
First, you may need to check the QuickBooks Desktop System Requirements
Things to do before starting with the troubleshooting steps
A. Create the Company File Backup
If you can open the company file, it’s suggested to create a backup before the troubleshooting steps.
- Open QuickBooks Desktop
- Go to File > Back Up Company > Create Local Backup
- Now follow the onscreen instructions to create a backup
B. Update QuickBooks Desktop to the Latest Release
- Open QuickBooks Desktop
- Go to Help > Update QuickBooks Desktop…
- Click on Update Now(To the top)
- Click Get Updates
- It may take some time to update the QuickBooks Desktop
Note: The process to fix this may be complex, you can speak with our experts for a quick resolution. Dial TollFree or leave us your message and we’ll contact you.
9 Simple Steps to Fix: Excel allows 256 columns in a Worksheet QuickBooks Error
Step 1: Close Excel from the Task Manager
It’s a possibility that Excel is running multiple times in the background which is causing this issue. To close Excel from the Task Manager:
- Press Ctrl+Shift+Esc together on the keyboard to open the task manager
- Under the Processes tab, click on Microsoft Excel
- Click End Task
Now try to run the report again, if the same issue persists, try to repair Excel.
Step 2: Repair Microsoft Office
Excel is a product of Microsoft Office that may not be working properly and repairing it may fix this issue. To repair Microsoft Office:
- Right-click on the Start Button
- Choose Apps and Features
- On the next window, choose Microsoft Office from the Apps & Features list
- Then click on Advanced options
- Scroll down to the next window and click Repair to make Excel work right.
Step 3: Reboot your Computer
Rebooting your computer may help as the other program may using your memory. After rebooting open QuickBooks first before any other program.
To reboot your computer:
- Click on the Start Button
- Click on Power and Restart
Now try to run the QuickBooks reports again, if the same issue still exists, please follow the below steps:
Step 4: Download and Install QuickBooks Tool Hub
- Download QuickBooks Tool Hub and then go to your download by pressing CTRL+J
- Under your downloads list click on QuickBooksToolsHub.exe
- Click Yes to allow this app to make changes
- Now click on Next to install it and then click Yes again to accept the license agreement
- Click on Next and then Install (It may take some time)
- Once the installation is complete click on Finish
Step 5: Run Quick Fix My Program
- Open QuickBooks Tool Hub (downloaded in step 4)
- Go to the Program Problems tab and click on the Quick Fix My Program
- It may take some time to run
- Once completed, reopen QuickBooks Desktop and try to export the report in Excel
Note: You may also face, QuickBooks Crashes When Exporting Reports to Excel
Step 6: Repair QuickBooks Desktop
- Close QuickBooks Desktop
- Press the Windows+R keys to open the Run command
- Type Control and click OK
- Click on Programs > Programs and Features
- Double-click on QuickBooks Desktop from the program list
- If asks, click on Yes
- Click on Next
- Choose Repair and click Next
- Click Repair
- Now it may take some time to repair the QuickBooks Desktop
Step 7: Run QuickBooks as an Administrator
- Close QuickBooks Desktop
- Right-click on the QuickBooks desktop icon
- Click Run as administrator
- On the next window, click Yes to allow the user to allow control permissions
Note: This issue sometimes also occurs because of data damage. You can start Troubleshooting Data Damage in QuickBooks Desktop
Step 8: Uninstall QuickBooks Desktop
Important – Before you go ahead and uninstall & reinstall QuickBooks get ready with your license or product number because, in the process of the reinstallation of the QuickBooks desktop, it will ask you for the information.
If you don’t have a license and product number, you can get the information on your registered email address by visiting here.
To Uninstall QuickBooks Desktop
- Press Windows+R keys together to open a Run command
- Type Control and click OK to open the Control Panel
- Click Programs and Features
- Under the Programs list select QuickBooks and click Uninstall
- Click Yes, If prompts you
- Click Next and choose Remove
- Then, click Next and then Remove
- It may take some time to uninstall QuickBooks from your computer
- Click Finish, Once the installation wizard successfully uninstalled QuickBooks
Step 9: Reinstall QuickBooks Desktop
You can install the QuickBooks installation setup directly from the Intuit website, please follow the below instructions to do so.
- Visit the QuickBooks Downloads website
- Then click on Standard Setup
- Now select the Country
- Then choose your Product as QuickBooks Pro, Premier, Enterprise, etc.
- Then select your version such as 2022, 2023, or 2024
- Click Search
- Then click Download
- Now follow the on-screen instructions to reinstall QuickBooks
After following all the above troubleshooting steps to fix the “Excel allows 256 columns in a worksheet QuickBooks error, you won’t face this problem but in case the same warning still exists, feel free to reach our support team.
Related Posts
