How to add a bank account in Quicken?
It is easy to download bank transactions in Quicken but people may face some problems while adding a bank account in Quicken. As Quicken is available for Windows and Mac it is necessary to know how to add a bank account in quicken with each.
Quicken For Windows
4 Simple Steps to add a bank account in Quicken
1. Click on Add Account Button
In Quicken 2016 & before versions there is a button for adding a bank account at bottom of account bar “Add an Account” & If we talk about Quicken 2017 & 2018 (Latest Version) you will get a button for “+“(plus sign) for adding a bank account in Quicken.
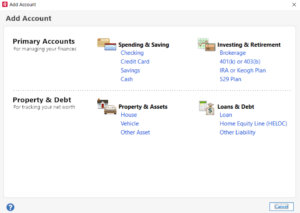
2. Click on respective Account
Quicken will show you the types of Account like Checking, Savings, Credit Card etc.

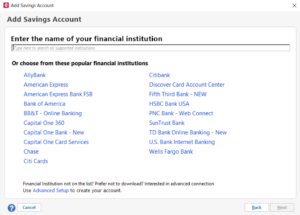
3. Click to choose your bank
In this screen you need to click on your respective bank, If your bank is not listed, you can search in the search bar & quicken will find what your typing. When your bank listed, select it.

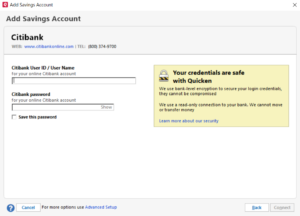
Quicken will promote you on a screen where it will ask for your bank credential {Mostly Username & password}. Put the Credential & click connect. Quicken will look for your respective account & then it will show you your account & Click Finish.

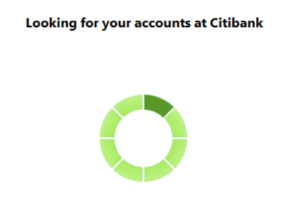
Quicken will look for your respective account & then it will show you your account & Click Finish.

In this post we took an example for citibank, please choose your respective bank here.
4. Enter the transactions manually
- Where you can ask for your online banking credentials on the same page at the bottom you have an option for Advanced setup click it.
- Then choose, I want to enter my transaction manually & click Next
- Give a name to your account on next screen and click Next
- On another screen choose your ending date and balance & click Next
- On this screen, your account will be added & click Finish
- In Account bar, you’ll have your account ready.
If you face some problem while adding a bank account, contact Quicken customer Service

